April 08, 2019
Staff Configuration
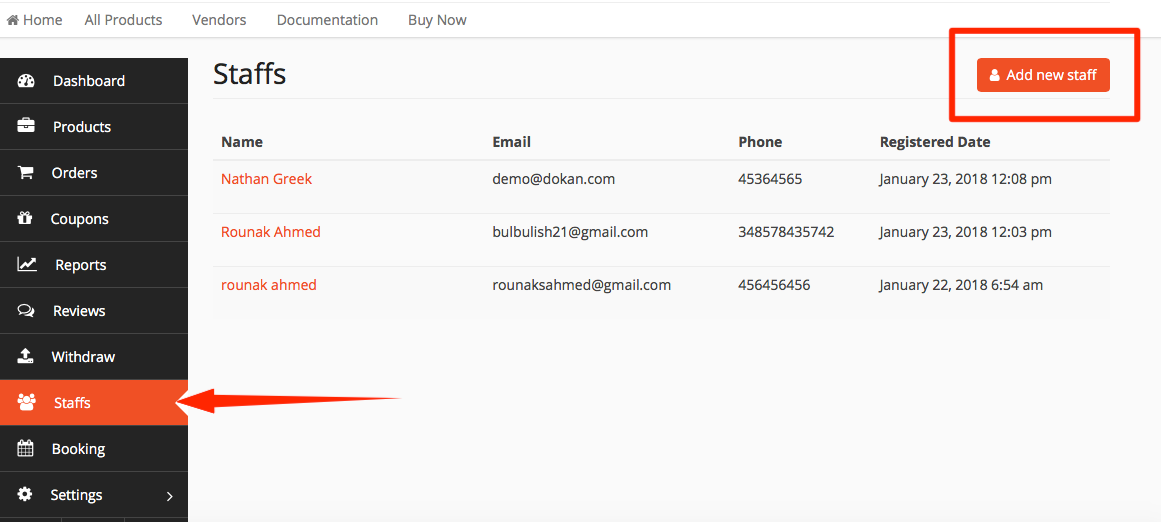
To add staffs to their stores, vendors have to navigate to Vendor Dashboard->Staffs. Then click on Add New Staff on the top right corner, as shown below.
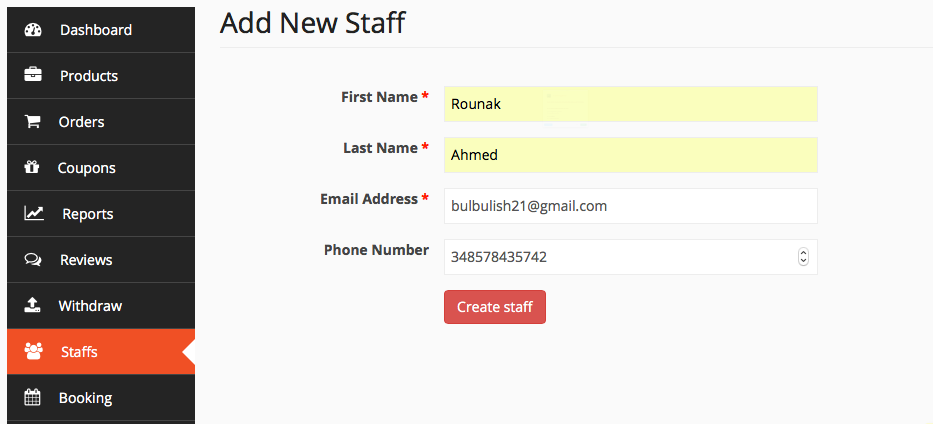
 Click on this button brings up a new page where vendors can add the First Name, Last Name, Email Address and Phone Number of the new staff.
After filling in, click on Create Staff.
Click on this button brings up a new page where vendors can add the First Name, Last Name, Email Address and Phone Number of the new staff.
After filling in, click on Create Staff.
 This will create new personnel under Staffs. Vendors can manually change the permissions of each staff and determine what they can or cannot see from their dashboard.
When the vendor will hover over a staff name, he will find 3 options: Edit, Delete, Manage Permissions.
This will create new personnel under Staffs. Vendors can manually change the permissions of each staff and determine what they can or cannot see from their dashboard.
When the vendor will hover over a staff name, he will find 3 options: Edit, Delete, Manage Permissions.
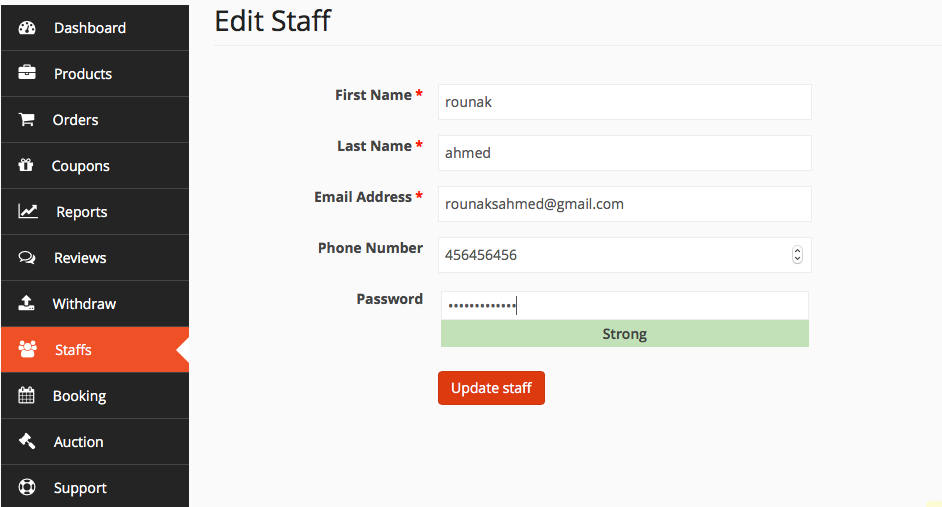
 To edit staff, click on Edit. This will bring up a new page, as shown below.
 To change staff's privacy, click on Manage Permissions. This will take the vendor to a new page, as shown below, where the vendor will find several options to change user permission.
From this page, vendor can alter what a particular staff can see on his/her dashboard simply by enabling/disabling the checkboxes.
To change staff's privacy, click on Manage Permissions. This will take the vendor to a new page, as shown below, where the vendor will find several options to change user permission.
From this page, vendor can alter what a particular staff can see on his/her dashboard simply by enabling/disabling the checkboxes.


Click on this button brings up a new page where vendors can add the First Name, Last Name, Email Address and Phone Number of the new staff.
After filling in, click on Create Staff.
This will create new personnel under Staffs. Vendors can manually change the permissions of each staff and determine what they can or cannot see from their dashboard.
When the vendor will hover over a staff name, he will find 3 options: Edit, Delete, Manage Permissions.
To edit staff, click on Edit. This will bring up a new page, as shown below.
To change staff's privacy, click on Manage Permissions. This will take the vendor to a new page, as shown below, where the vendor will find several options to change user permission.
From this page, vendor can alter what a particular staff can see on his/her dashboard simply by enabling/disabling the checkboxes.
3. Vendor Staff Login & Dashboard
When a vendor creates a new staff on his dashboard, the staff will receive a verification email along with his username and the option to change his password. Using his username and password, staff will be able to login to his dashboard. The login and dashboard page is same as the vendor page, except with different access permissions as selected by the vendor himself.